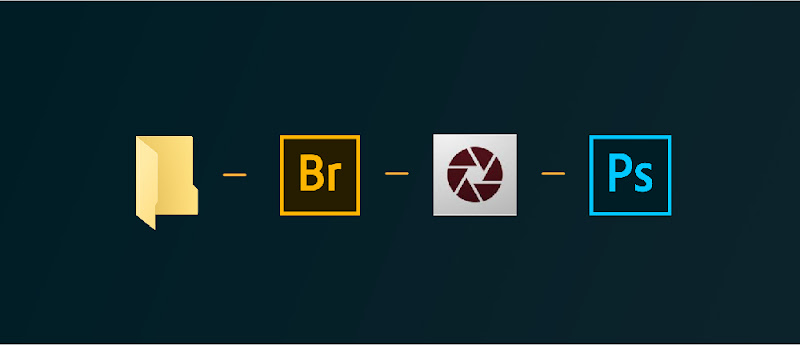
An alternative photography workflow to Adobe Lightroom: Learning to use Bridge, Camera Raw and Photoshop
Most photography specialists that I’ve worked with over the years prefer to use Adobe Lightroom for both organizing and editing photos. As someone with a heavy Graphic Design background who uses Photoshop a lot, this never made sense to me as I felt that Photoshop and Camera Raw could accomplish everything Lightroom could but with greater detail. Although, admittedly, my software combo was not very efficient when working with a lot of photos at once where you needed to quickly apply the same adjustments across multiple photos.
However, I recently discovered a workflow that takes advantage of Adobe Bridge, and I am convinced this is one of the most optimal workflows for balancing a high level of organization and editing functionality.
For the purposes of this walk-through, I will be using my photography work at Lian's Elegance.
1. Organize all originals files in a regular folder
You can simply title this folder “original” and dump all your RAW and JPG files here. File management is very important, so figure out a folder hierarchy for your projects and keep all your original files accessible.
2. Locate and preview your files using Adobe Bridge
Adobe Bridge is useful because it shows you a lot of relevant information at a glance. It allows you to:
- Filter files by filetype so you can hide all your JPG files.
- Quickly see metadata for selected images.
- Preview images using the spacebar or the preview window.
- Add comments, tags, ratings, and other filters to organize your files.
Most importantly, using Bridge means you are not creating any duplicate photos or albums organized by another application or cloud service. Simply put, it allows you to explore file directories you already created, see additional information about your files, and modify them directly.
3. Open your photos in Camera Raw through Bridge
Once you have selected the files you want to edit, you can open all of them simultaneously in Camera Raw by right-clicking on the images and selecting “Open in Camera Raw.”
With all of the photos opened in one Camera Raw window, you can make all the necessary exposure and color adjustments to your images. Much like in Lightroom, you can apply the same adjustments to multiple images by selecting a film strip and copy-pasting it to another. The Camera Raw interface should feel very familiar as a whole if you're coming from Lightroom.
After you’re done making your changes, hit the “Done” button at the bottom right, NOT the “Open” button which will open each photo individually in Photoshop.
4. Drag and drop your edited files from Bridge to Photoshop for additional touch-ups.
From here, you will notice that the RAW files which you opened now have settings icon overlays indicating that they have adjustments embedded in them. Select these files in Bridge and drag them into a new Photoshop document. This way all of your photos will import as separate smart object layers in one Photoshop document. This means that at any point during your Photoshop touch-ups, you can double click on a smart layer and it will open your image in Camera Raw with all of your original adjustments preserved.
5. Export from Photoshop
Finally, export your images from Photoshop by selecting all the layers, right-clicking, and selecting "Export As." This will open a dialogue box that allows you to export all your images at once.
In the end, you're left with a folder that contains all of your original photos, your final photo exports, and a working file for future adjustments.
Was this post helpful? What are some ways you manage your photography workflow?

Comments
Post a Comment